
OUR PROCESS
How We Actually Install Your Window Tint
Most sites won’t show you this part because a rushed install is where corners actually get cut. Here’s the real, panel-by-panel process, in the same terms our installers use on the shop floor — not marketing language.
STEP 1
Wash and Prep the Glass
Before any film touches the window, the glass gets fully washed and inspected for existing scratches or old adhesive residue from a prior tint job. Skipping this step is the single biggest reason cheap installs end up with contamination specs trapped under the film later.
STEP 2
Pattern-Cut Each Panel to Your Vehicle
We cut each panel specifically to your vehicle’s window shape using a plotter-matched or hand-cut pattern — not a generic sheet trimmed down on the glass with a blade, which is how factory seals and defrost lines get damaged.
STEP 3
Anchor the Film and Work Out Trapped Air
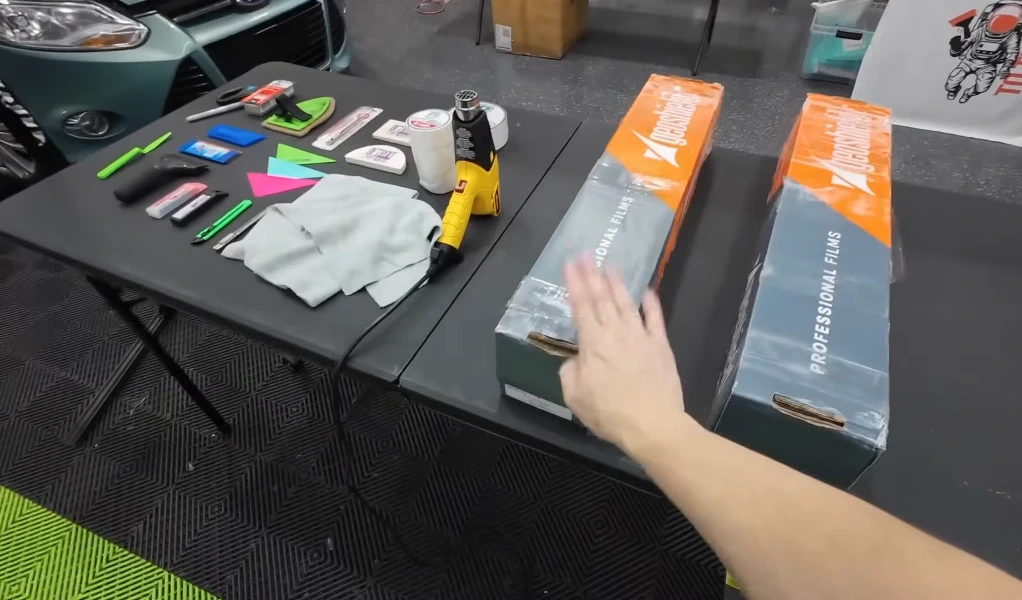
The film gets anchored into position, then worked down with a squeegee to push out air and set it flat against the glass. On curved rear glass, this is where heat comes in — we shrink the film with a heat gun so it lays flat against the curve instead of bunching or leaving bite marks at the edges.
STEP 4
Handle Curved Glass and Tight Areas Correctly
Rear windshields and wind-deflector-equipped windows need extra attention. Curved glass sometimes needs multiple heat-shrunk strips instead of one panel to lay correctly, and we account for gaskets and trim lines so the film doesn’t get pinched or lifted when the door seal closes.
STEP 5
Final Squeegee Pass and Inspection
A low-lint cloth and final squeegee pass push out any remaining moisture and static-attracted dust before the film cures. Every panel is checked against our 5-point defect list below before your car leaves the shop.
The 5 Defects We Check Every Panel Against
This is the actual quality-control checklist a properly trained installer uses — not a marketing claim. If a panel shows any of these five issues, it gets redone before your car leaves.
Bubbles
Trapped air or moisture pockets left under the film after the squeegee pass — a sign the install was rushed before the film could fully set.
Fingers / Spears
Small unglued slivers at the panel edges where the film wasn’t pressed down fully into the corners.
Hairs and Fibers
Debris trapped under the film during application, usually from an unwashed cloth or a glass surface that wasn’t properly cleaned.
Specs and Contamination
Dust or particles that settled on the adhesive before the film was applied, visible as small dots under the surface.
Creases
Folds or wrinkles in the film, usually from improper heat-shrinking on curved glass or forcing a flat panel onto a curved window.
Process Questions, Answered
How long does a full vehicle tint install actually take?
Most installs are completed the same day — exact timing depends on your vehicle and the film type selected. — curved rear glass and vehicles with a wind deflector can take longer since those panels need extra heat-shrink work.
Do you offer mobile window tinting, or is it in-shop only?
Yes
How soon can I roll my windows down after tinting?
We’ll give you the exact cure-time window for the film we install on your vehicle before you leave — rolling windows down too early is one of the most common ways a fresh install gets damaged.
What happens if you find a defect during the final inspection?
The panel gets redone before your car leaves our shop. We check every install against the same 5-defect list above — bubbles, fingers, hairs and fibers, contamination, and creases — and we don’t consider a job finished until it passes.
See This Process on Your Own Vehicle
Get on the schedule and see the same panel-by-panel process, done right, on your car.